Craftsmanship
Set in the folds of the Oxfordshire countryside our workshop and design studio is a living monument to British creativity and craftsmanship. Our team of makers and designers carefully create works of exceptional quality and extraordinary beauty for a global audience.
Materials at our core
Exquisite craftsmanship in a range of materials
Precise, detailed, scientific, mathematical, but creative. We believe that the quality of materials is sacrosanct, and craftsmanship is paramount. We’re currently reviving some classical and traditional metal-working processes, as well as exploring more contemporary techniques.
Engraving
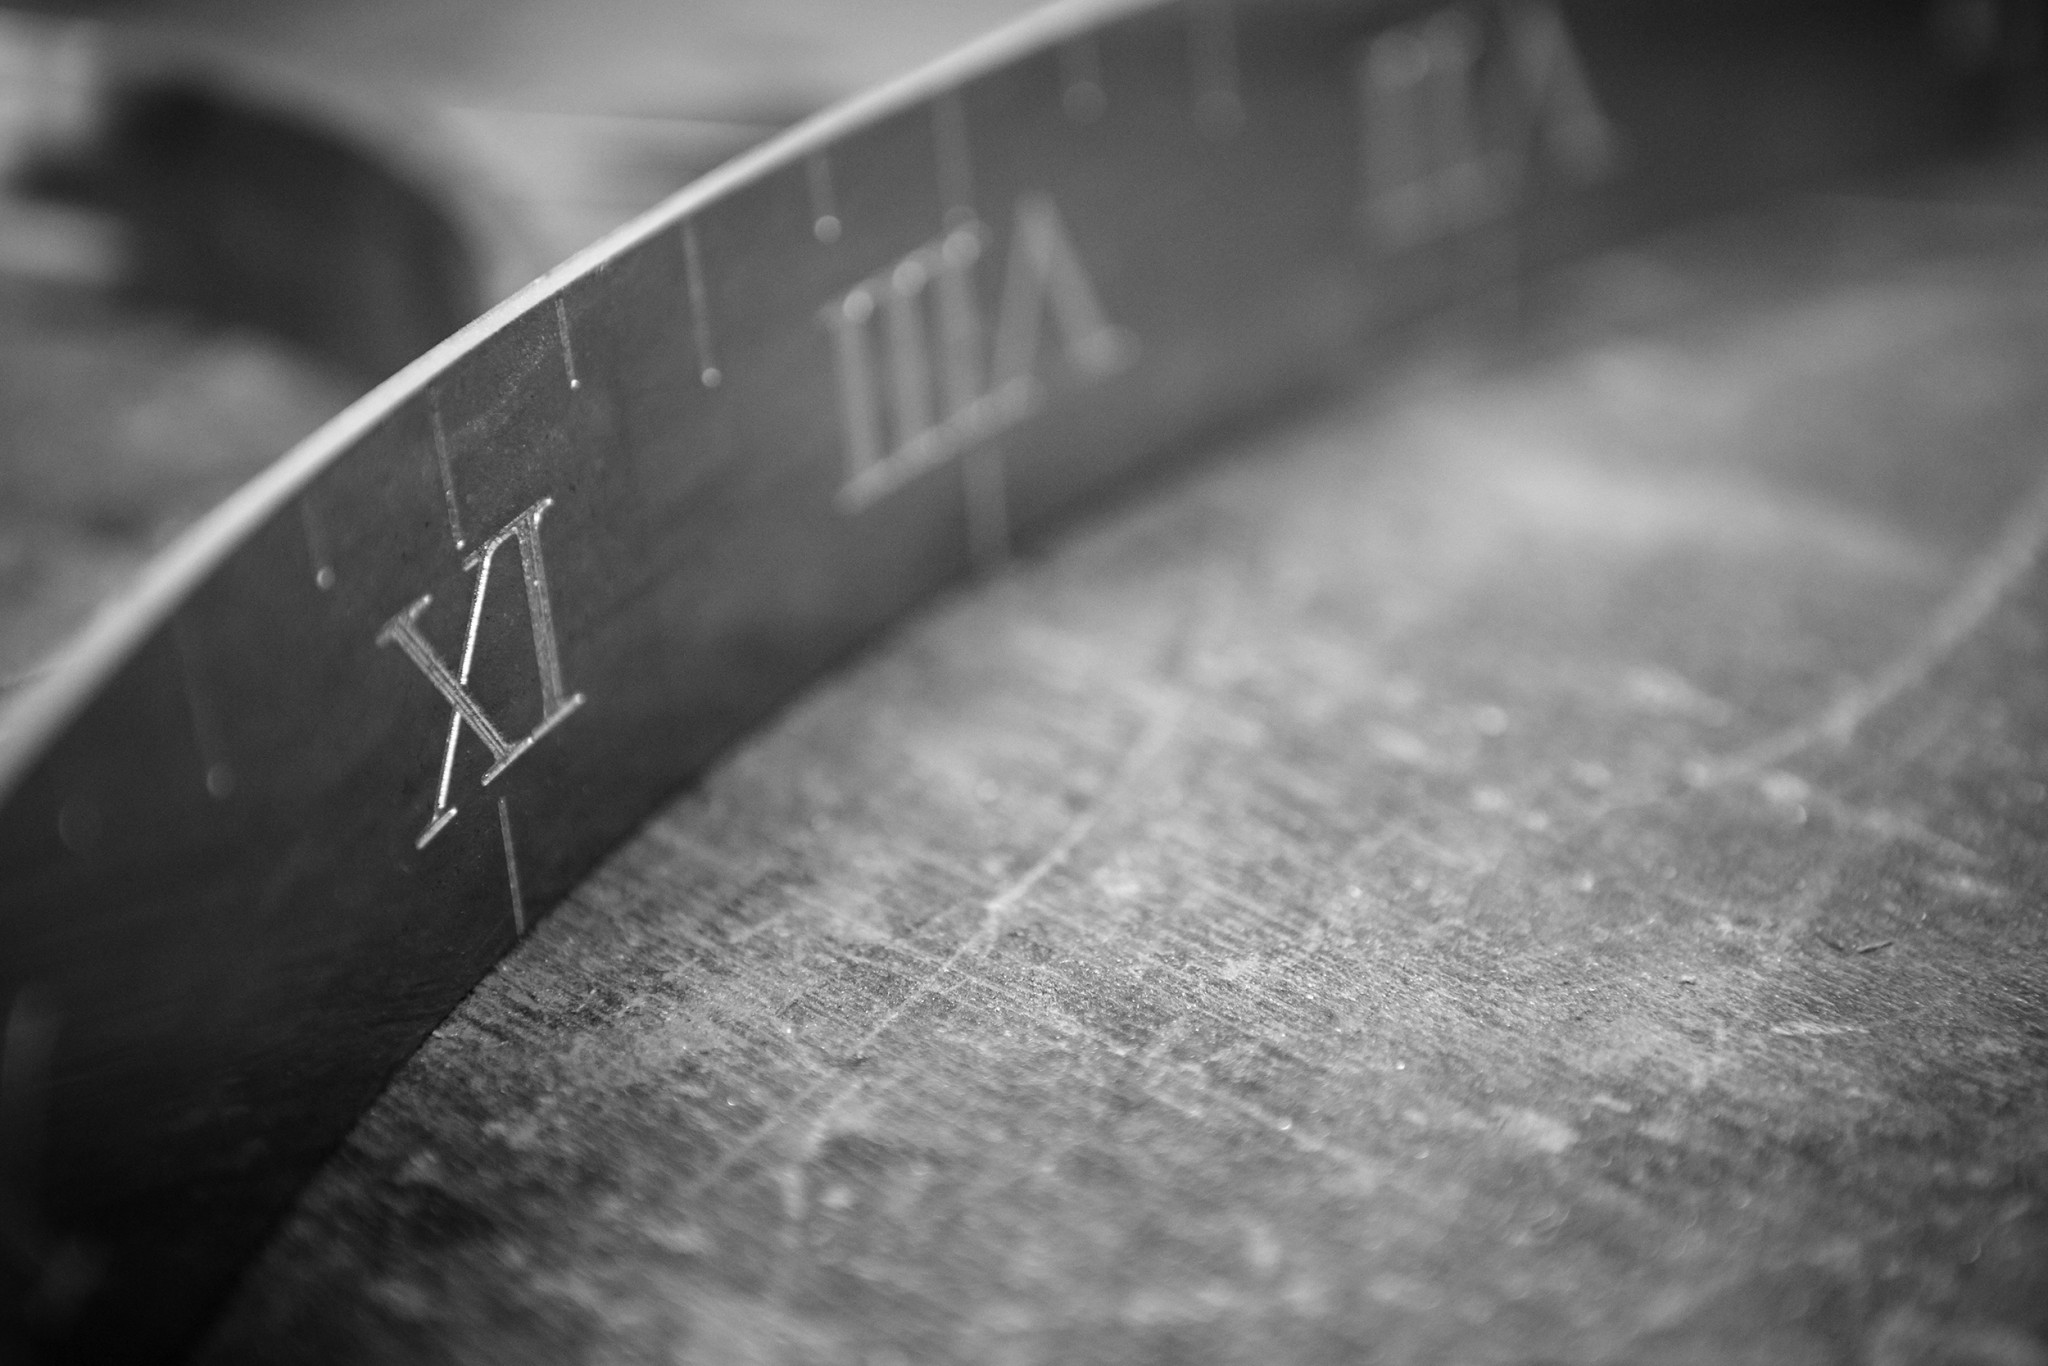
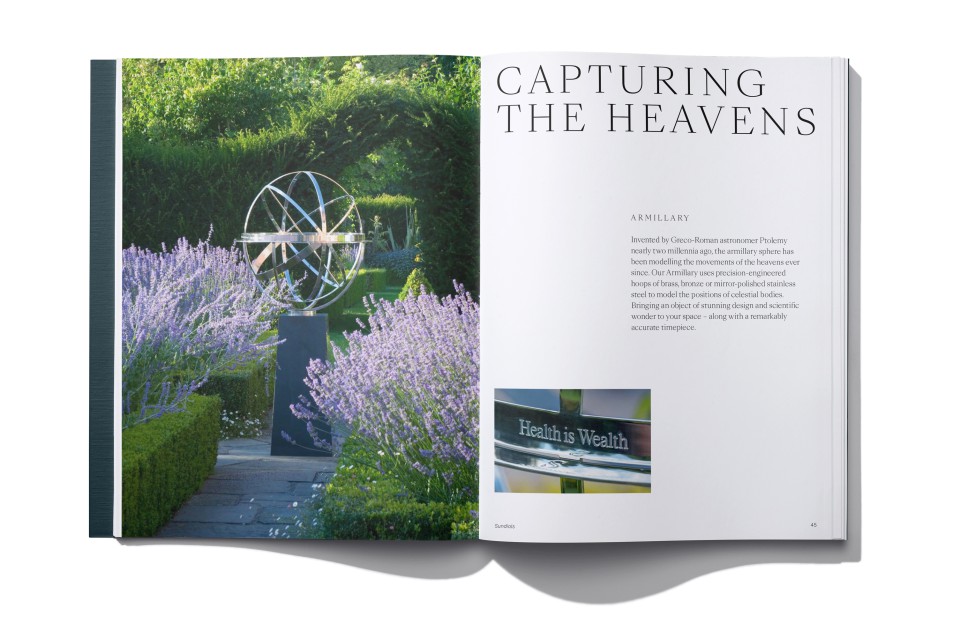
David Harber delights in engraving and etching, as it makes a commission a much more intimate and personal process. The Armillary Sphere in particular has the potential for extensive engraving, and a Mantle or Quill can incorporate a few words on a discreetly located petal.
Whether it’s hand-chased engraving or machine engraving, the art and precision required for both techniques takes years to perfect. Material strength varies from malleable copper to incredibly unyielding and hard stainless steel, but our skilled craftspeople know how to adapt the technique to achieve the perfect depth and definition to ensure the engraving or message will remain legible for future generations to enjoy.
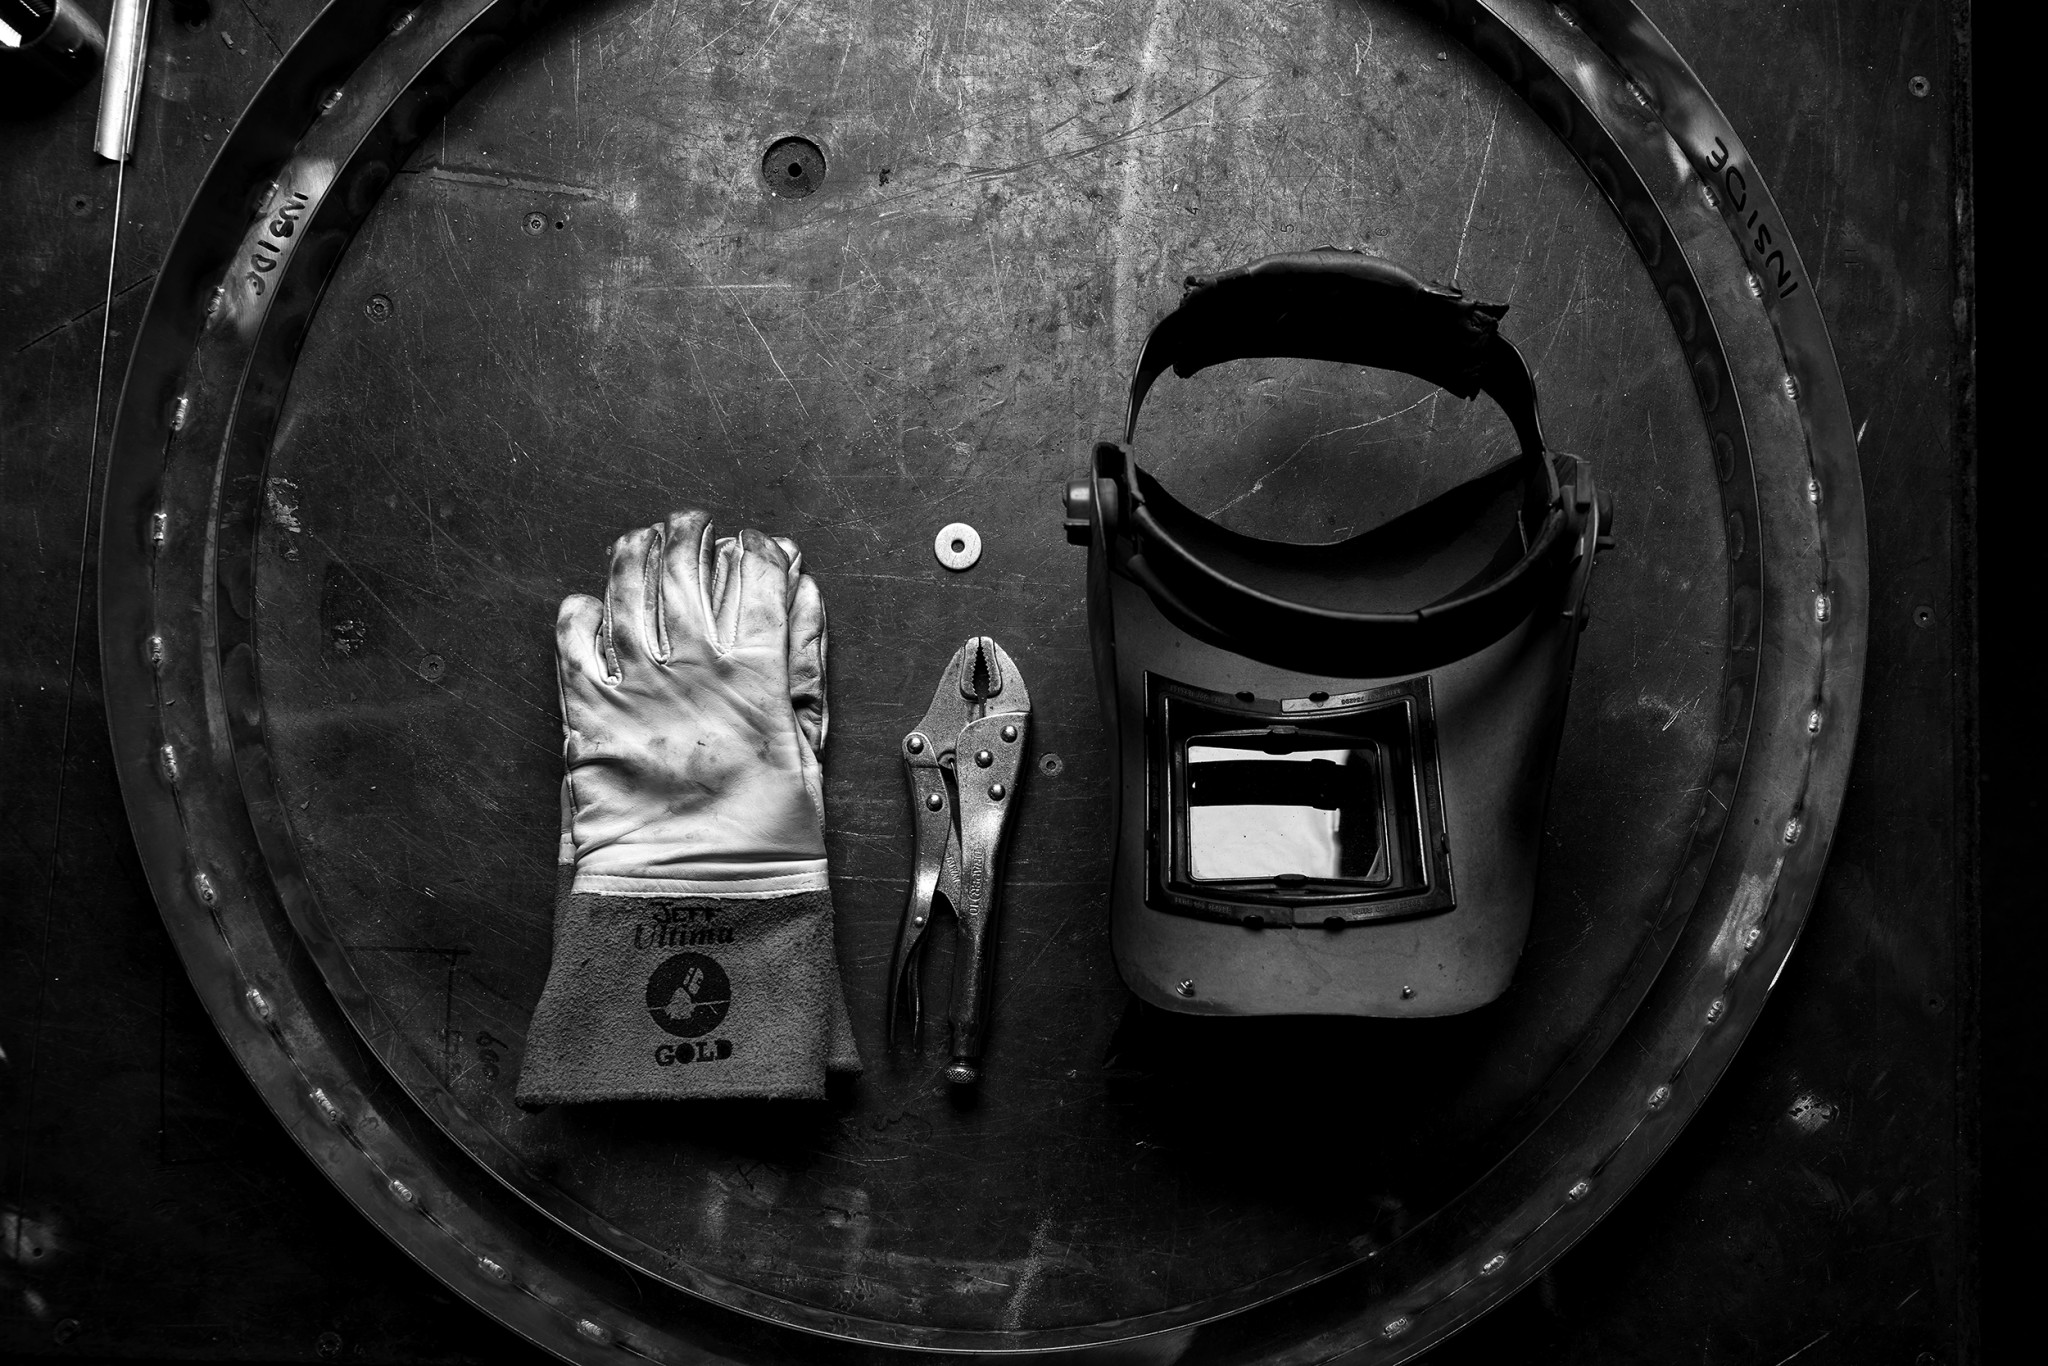
Working in metal
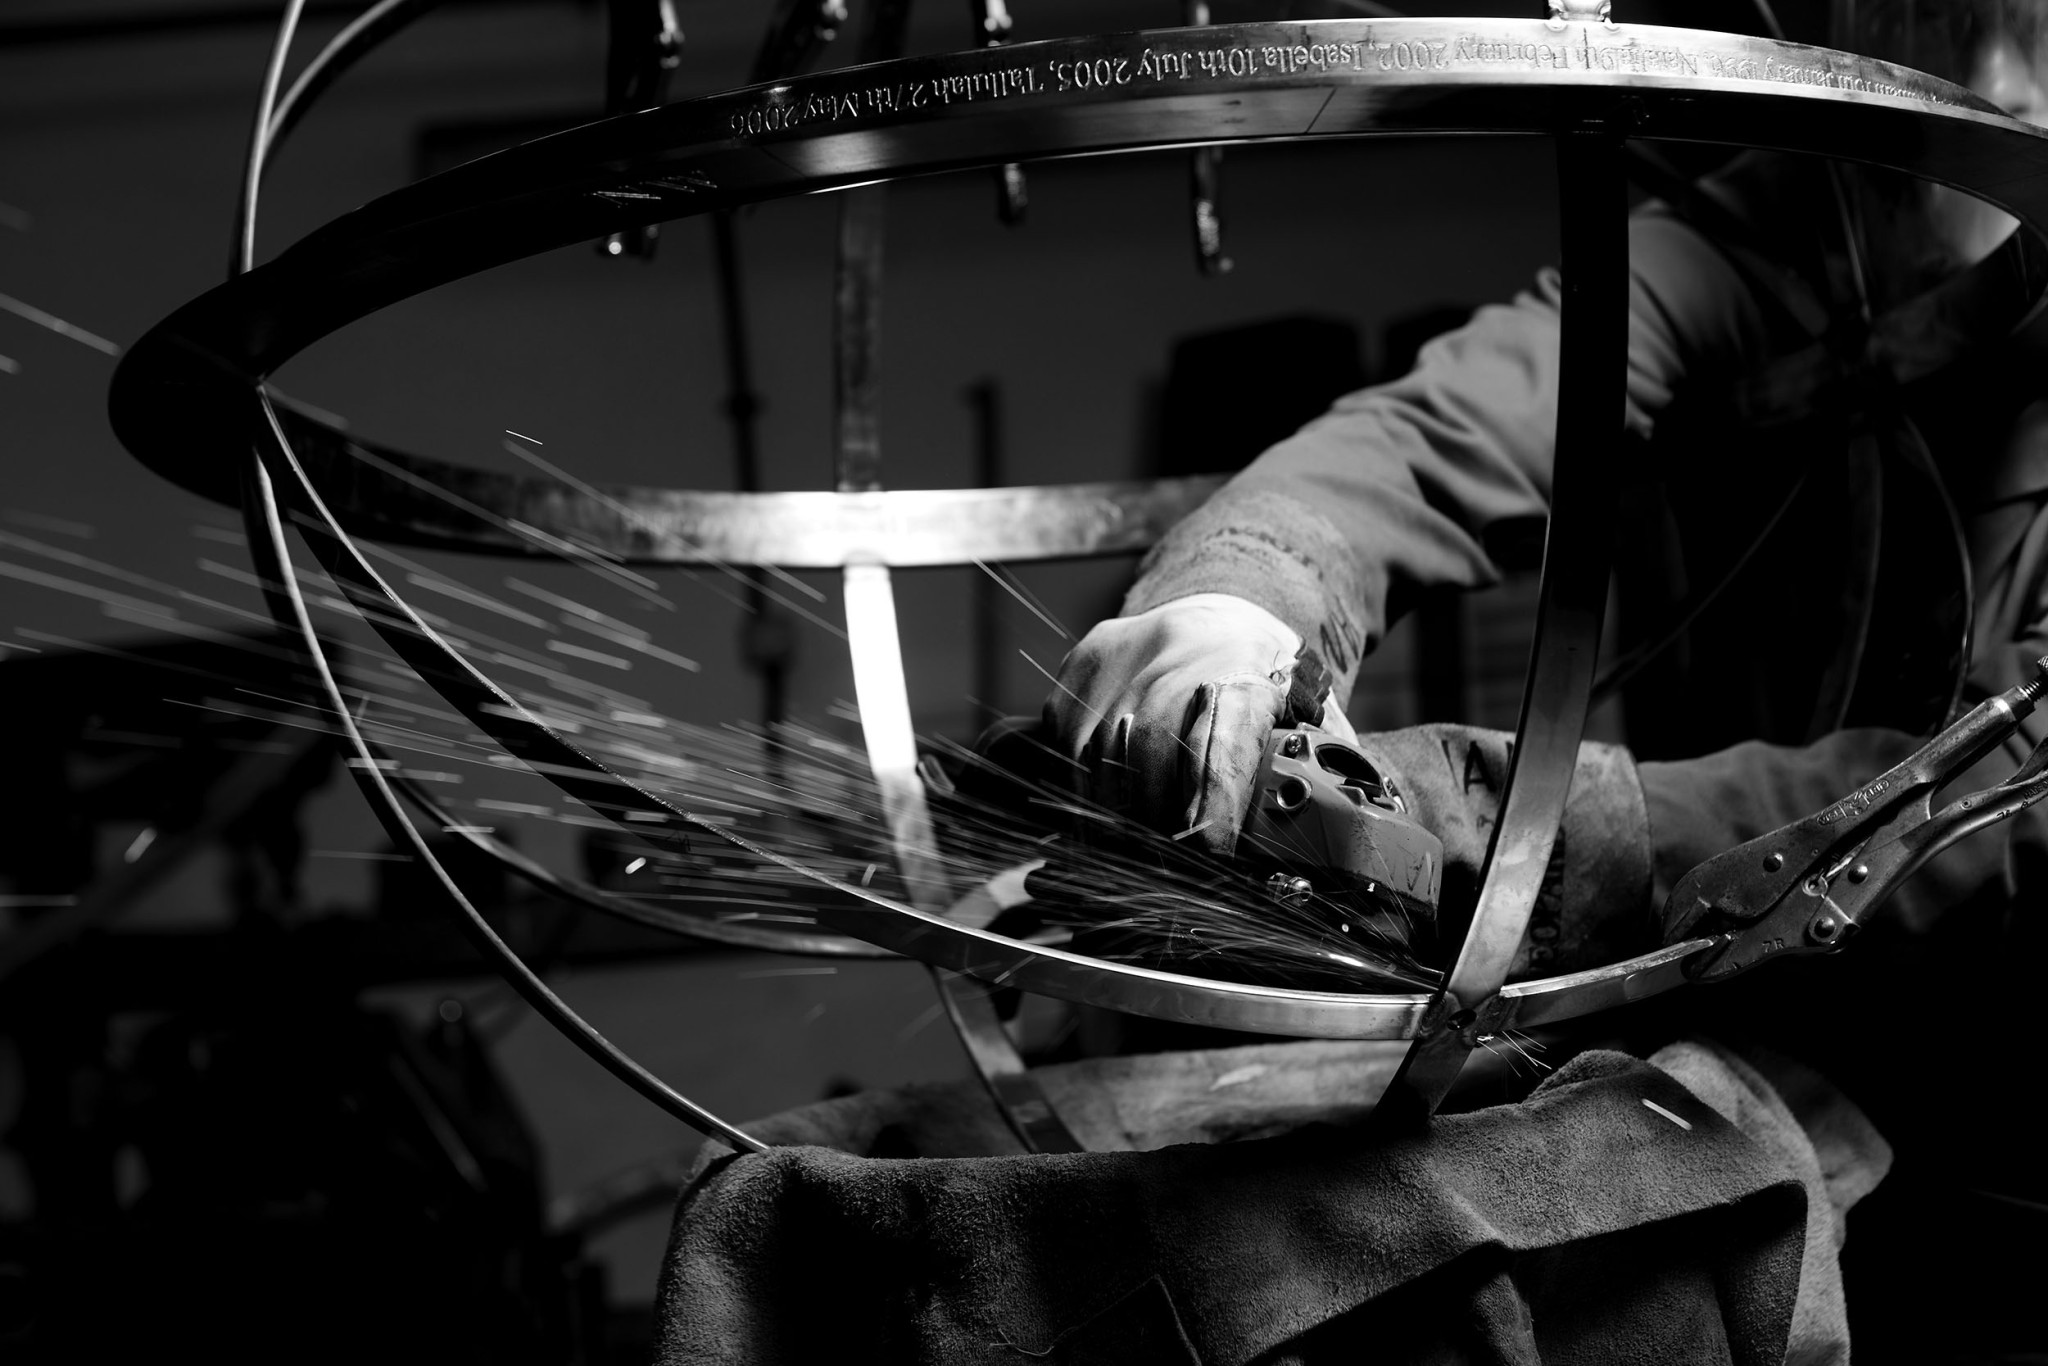
Our commitment to quality is reflected in our metal fabrication process. Drawing on the deep knowledge and expertise of our in-house team at our workshop in Oxfordshire, metal is transformed through a symphony of skill and precision.
Each member of our fabrication team has a background in highly specialised sectors, including Formula 1, the aviation industry, and pharmaceuticals. The discipline gained from these past experiences, combined with the creative environment at David Harber, strengthens our repertoire and allows us to push creative boundaries and innovate.
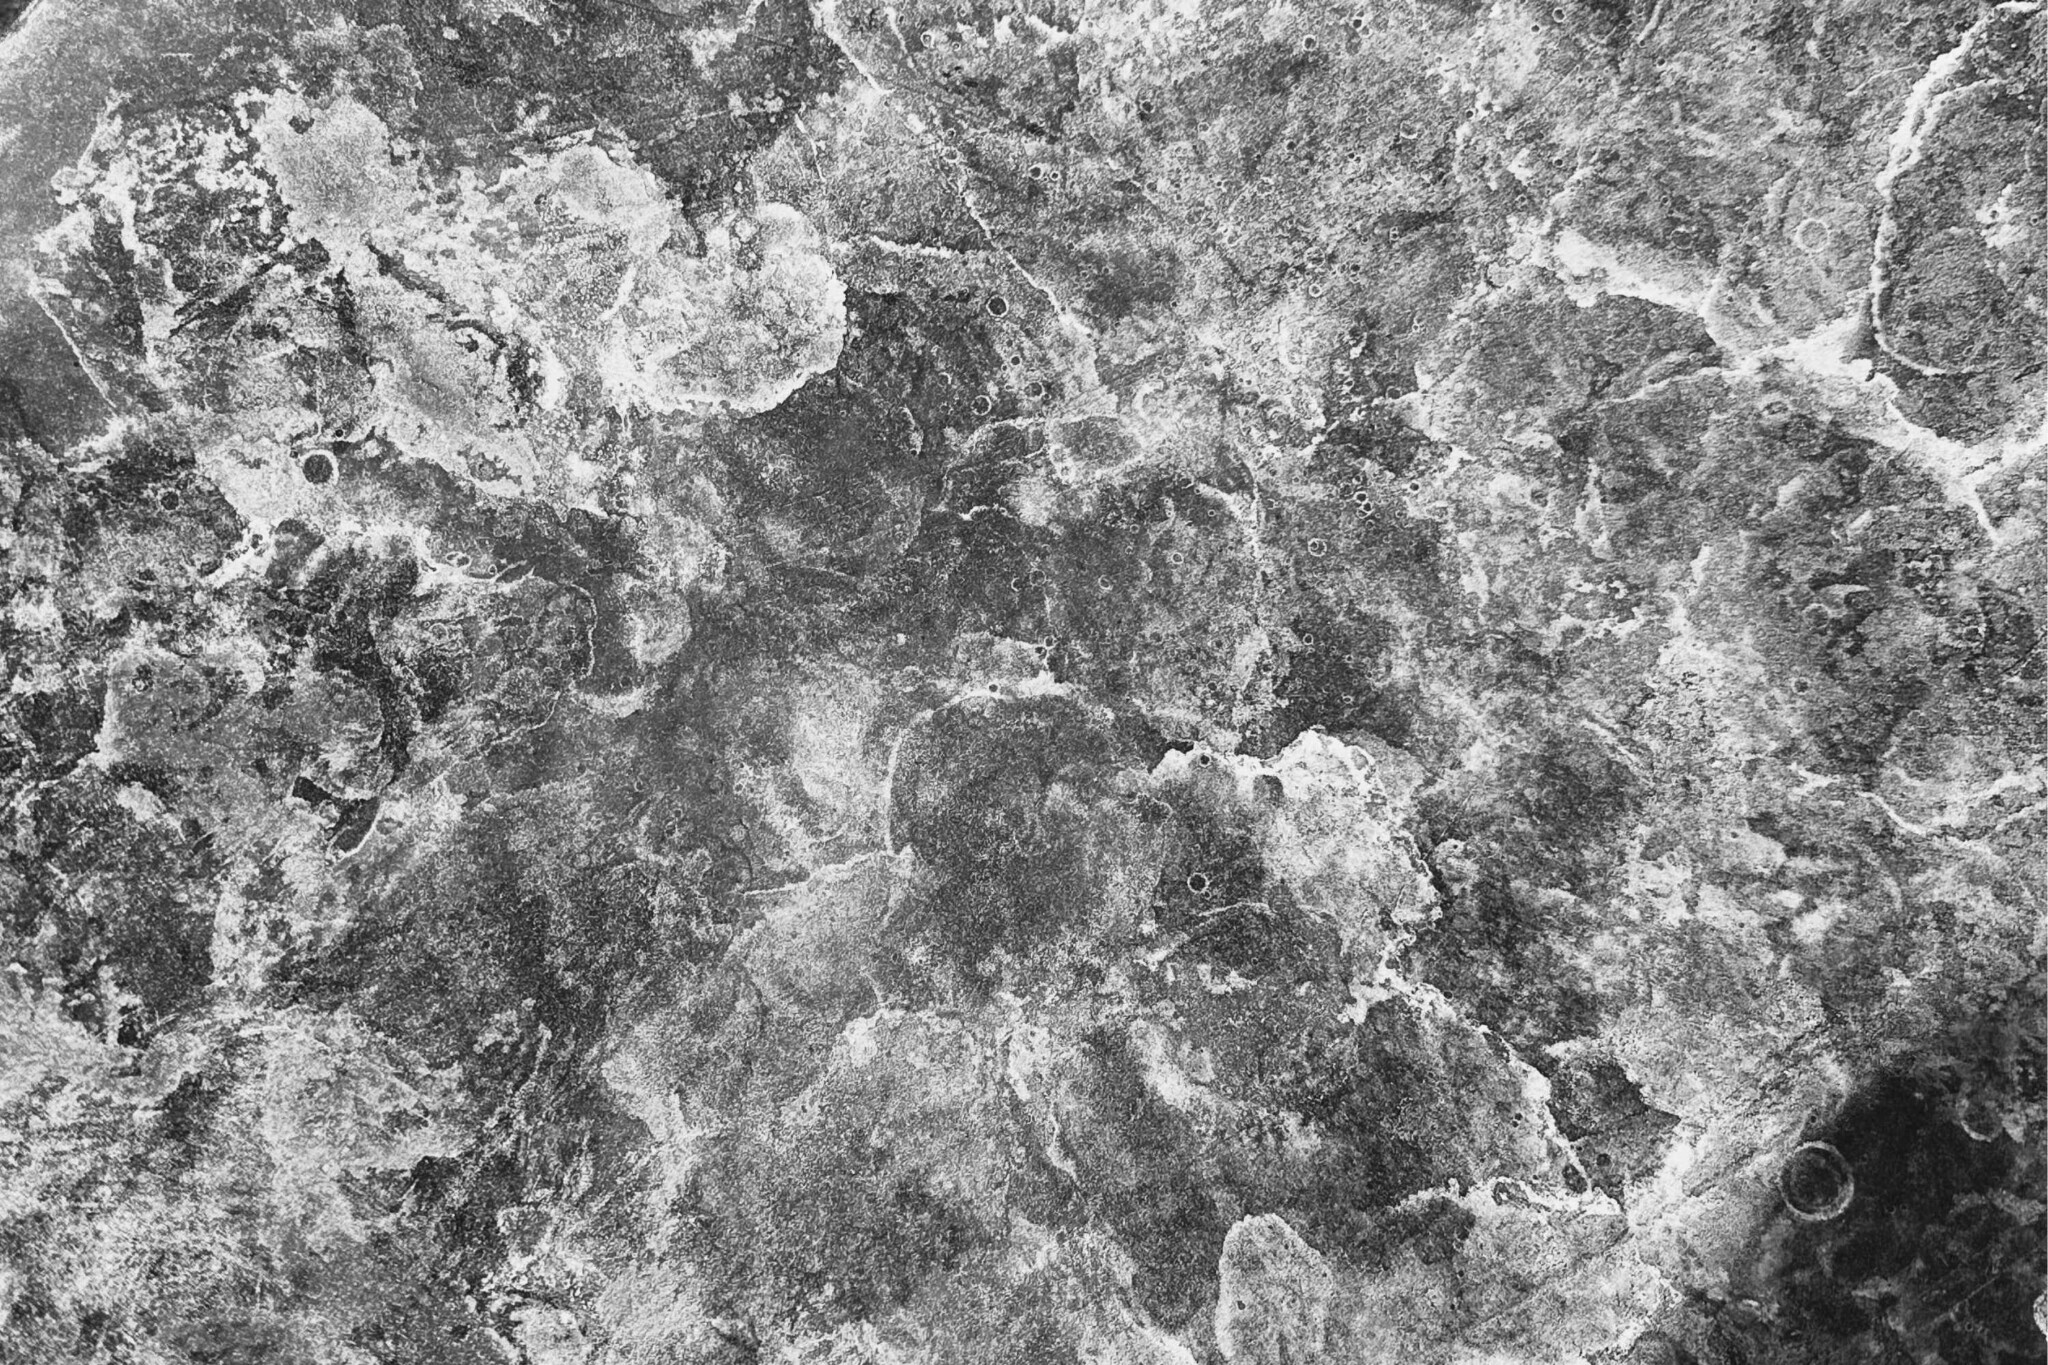
Working in stone

For millennia, sculptors have used stone to create works of art which celebrate the timeless beauty of nature’s raw materials. Our expert stonemasons meticulously shape and refine materials such as slate, marble, and granite, and the variable textures, tones, fissures and faults contribute to the individual character of a finished piece. No two can be the same. This fusion of patience, precision, and artistry creates unique, naturally bespoke sculptures that honour the natural integrity and enduring strength of stone.
Gilding
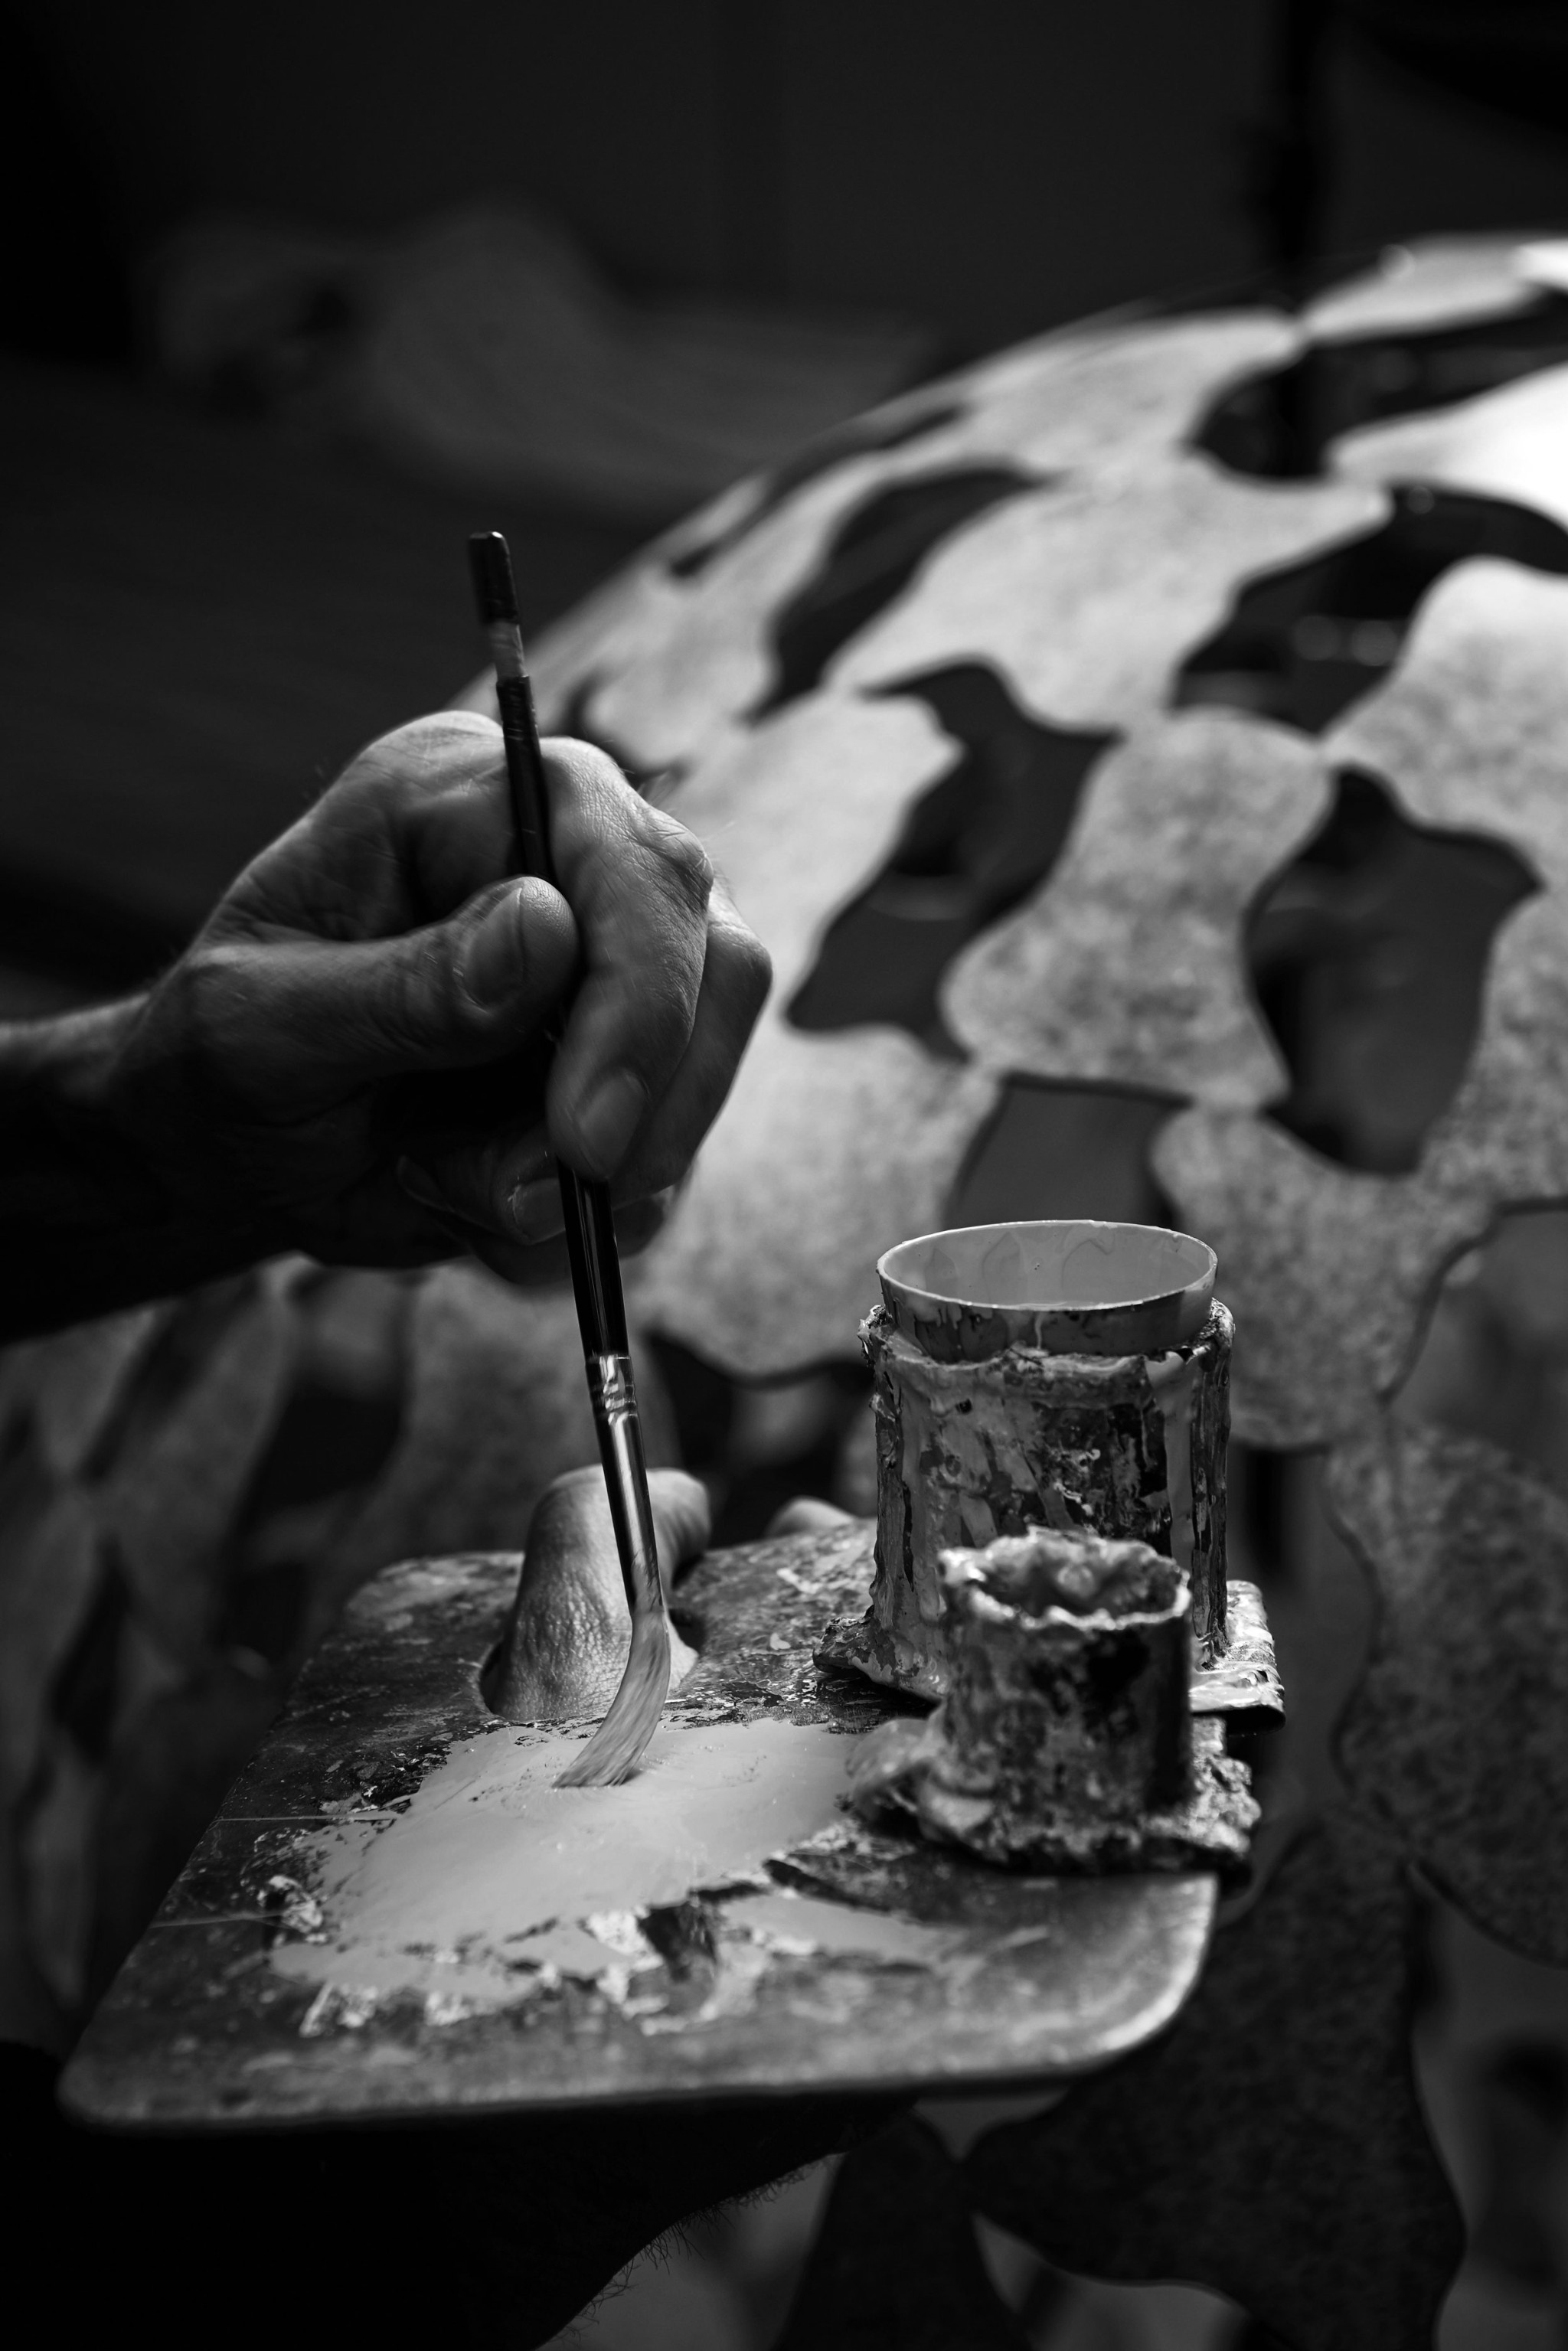
The glowing interior seen in many of our sculptures is 24-carat gold leaf. This exquisite finish elevates the metalwork with a touch of luxury. It’s applied by hand by our skilled, third-generation gilder who, through years of dedication, has perfected this artisanal craft to keep the traditional technique and his family’s rich heritage alive. The result is a radiant, bespoke piece that exudes refinement and opulence.
Finishing

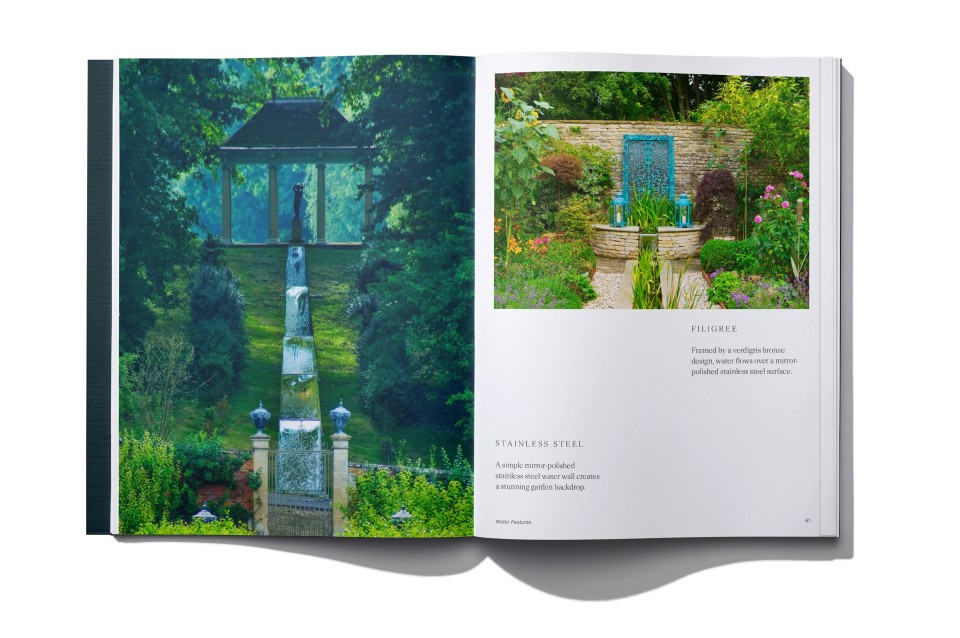
Finishing is where raw craftsmanship meets refinement. At David Harber, metal surfaces are meticulously polished, brushed, or textured to achieve the perfect finish. This final stage enhances the sculpture’s form, accentuating its lines and contours. Whether a mirror-like polish or a subtle matte texture, the finish adds depth and sophistication, ensuring each piece radiates elegance and precision.
Cold patination
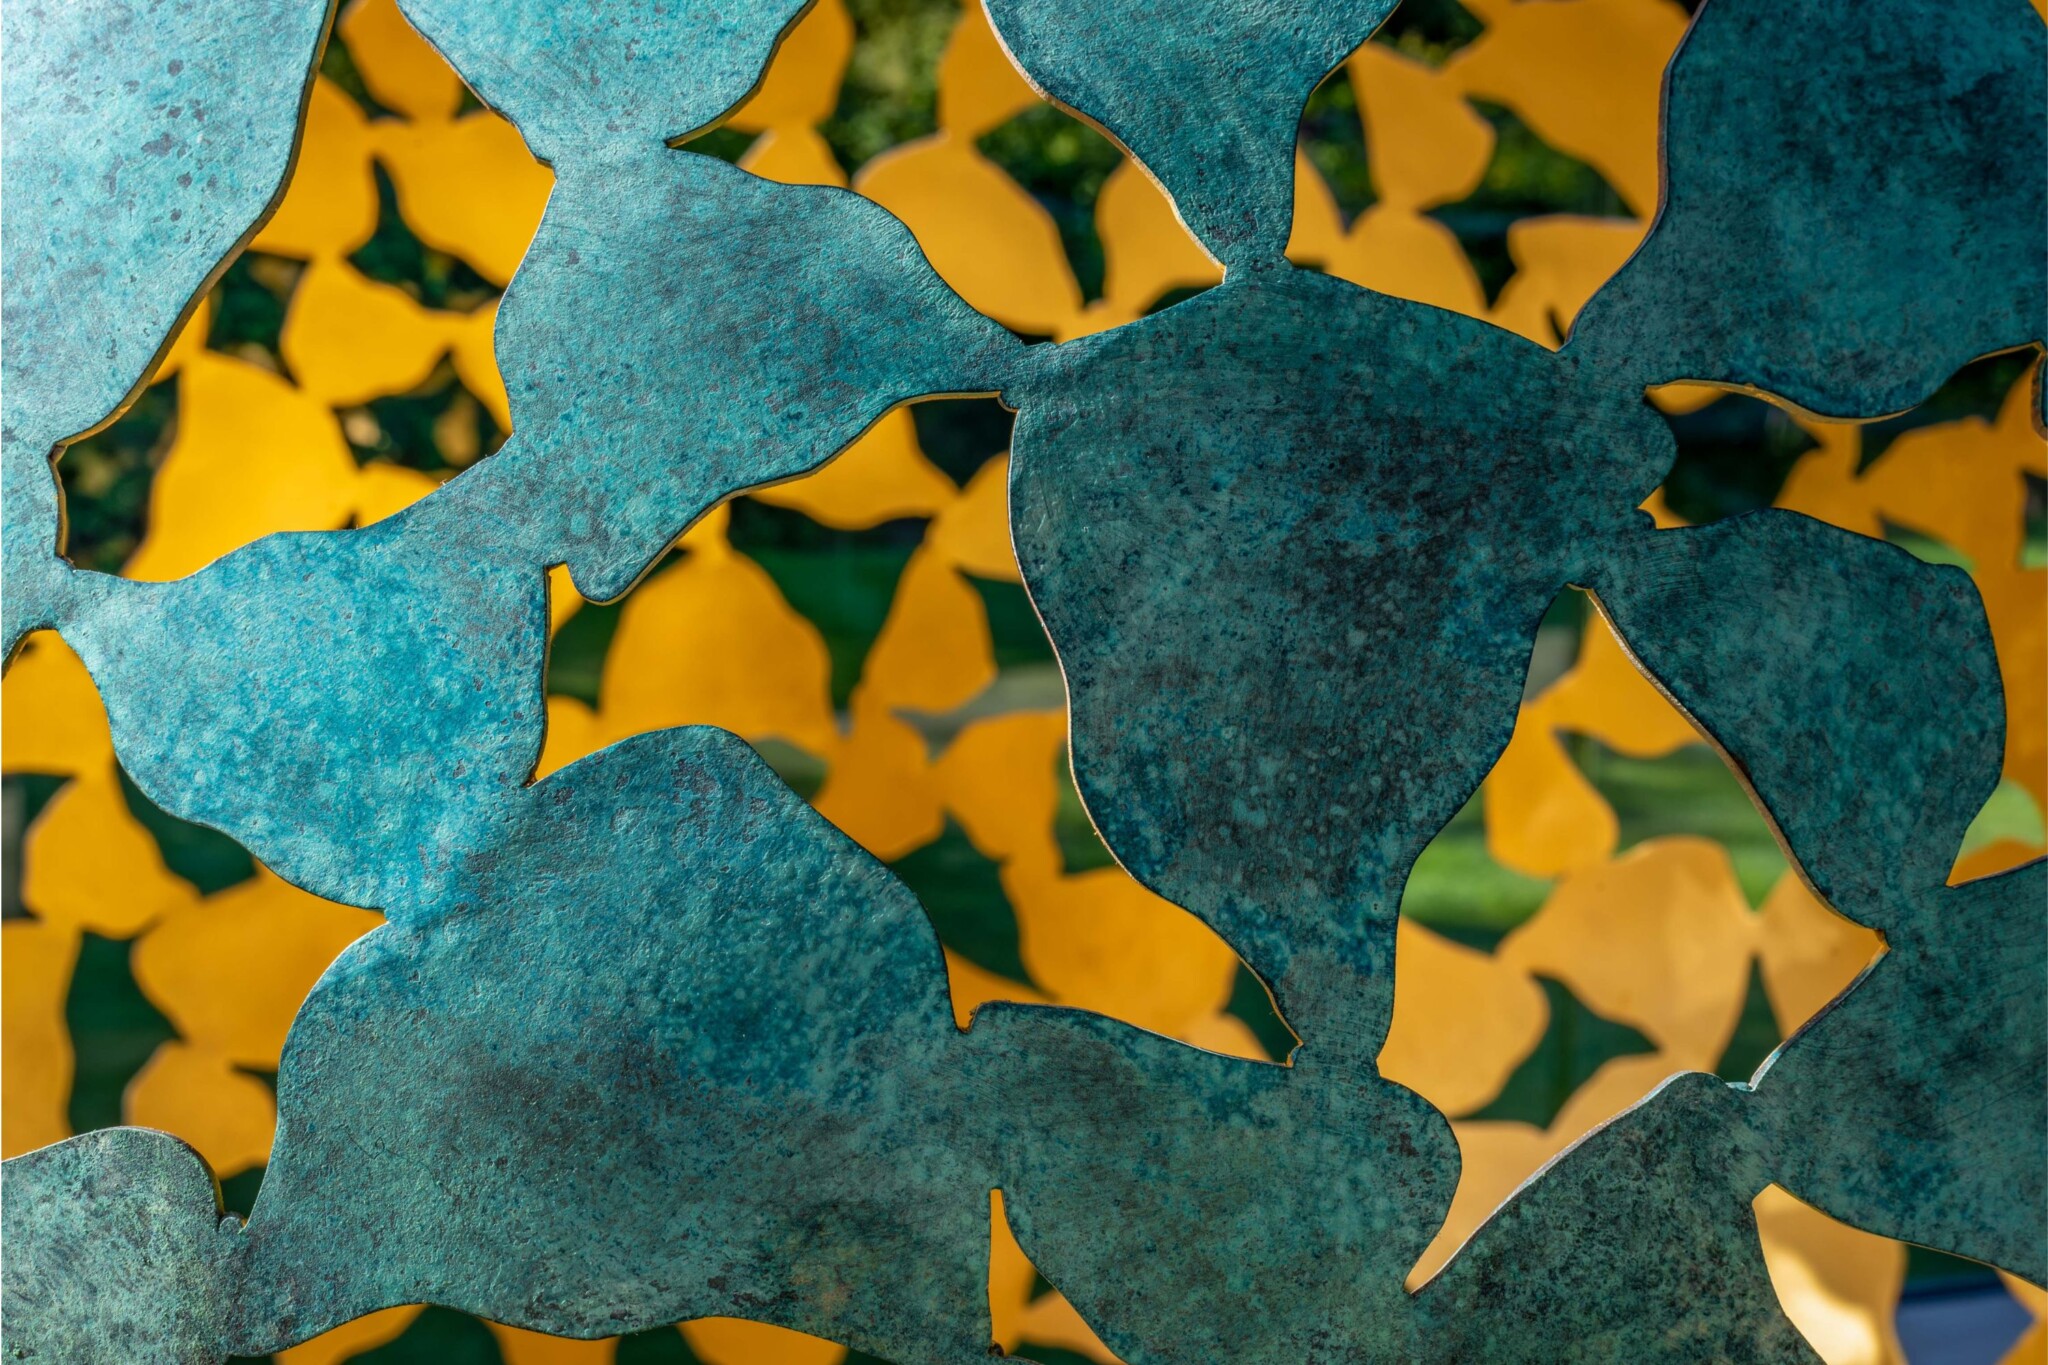
The signature cold patination technique we use to create our verdigris and antique finishes is a hallmark of our artistry. It’s a classical finishing method which has been finely tuned to enhance the visual depth and overall beauty of our sculptures. By using this technique, we can bring out the rich textural variations in the material and the intricate details of our designs.
Hot patination
Our newly developed technique involving hot patination processes introduces a layer of complexity to traditional materials such as brass and bronze, allowing for a captivating interplay of colours, textures and depth that evolves. As we embrace this exciting direction in David Harber’s finishing techniques, we not only enhance the visual appeal of our sculptures but also elevate the narrative quality of our work, inviting viewers to experience the sculptures in a new light.
Request a brochure